Have seen this posted a few times with peeps asking, and thought I'd have a go and try a quick guide (hopefully it helps someone)
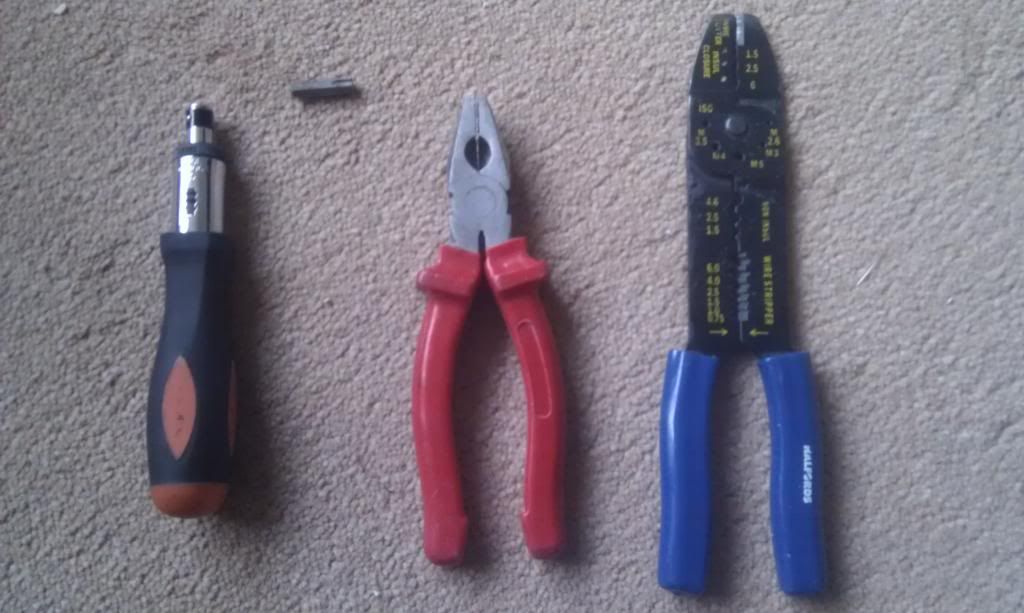
first up the bits needed:
obviously the switch and the bolt (cost all of 16.99 from local toyota garage)
bull nose pliers (red handled one)
crimping tool (blue handled one, cheap from halfords)
screwdriver with a t-30 bit
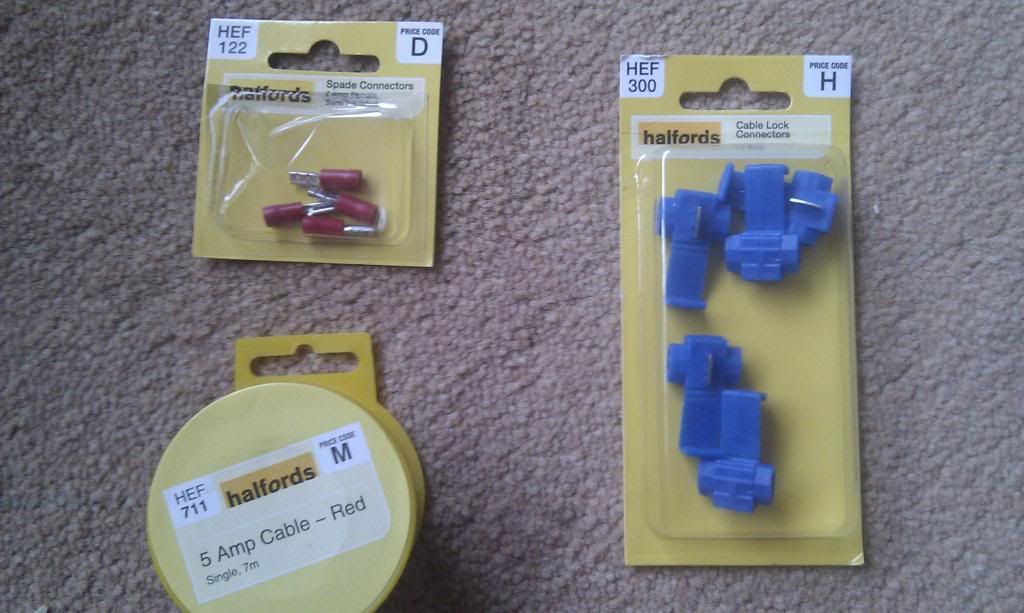
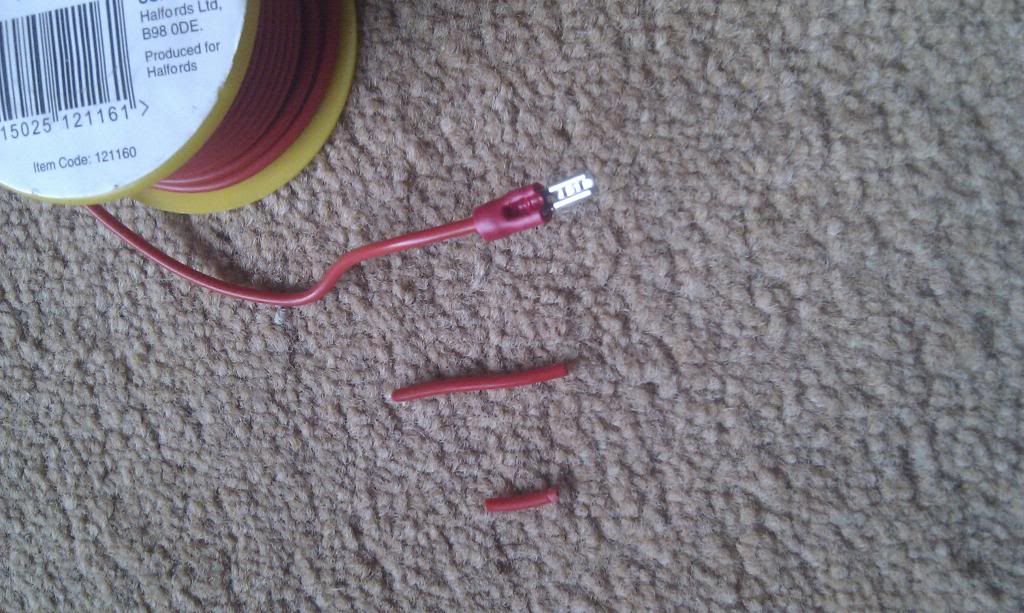
bits from halfords:
small spade connectors (the red bits)
crimp connectors (blue bits)
5 amp wire in red (smallest they had, colour not important)
First off (in the warm) strip some of the red housing from the wire exposing the copper cable, slide on a spade connector and use the crimping tool to fix them together
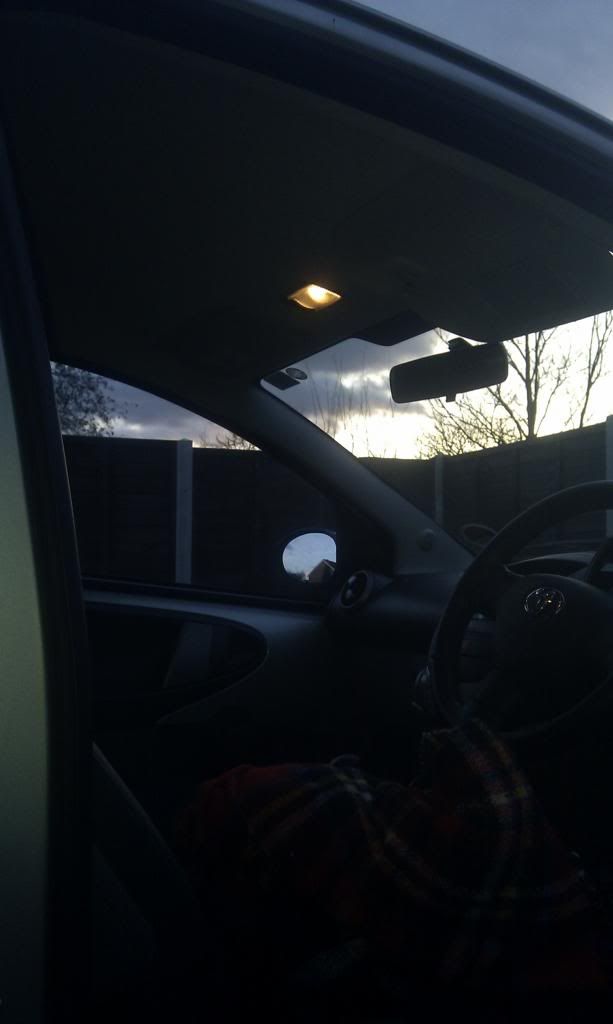
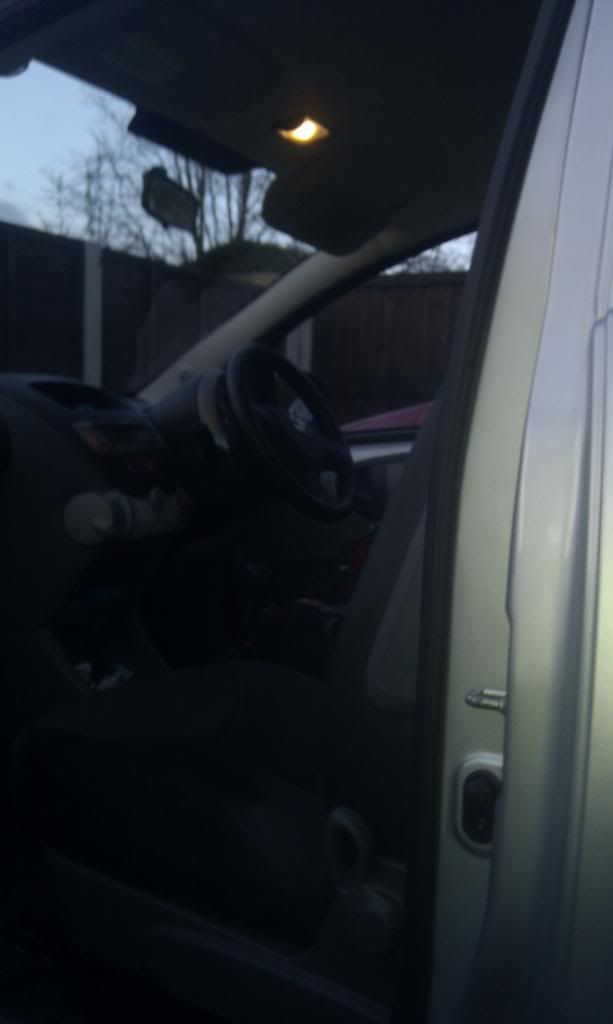
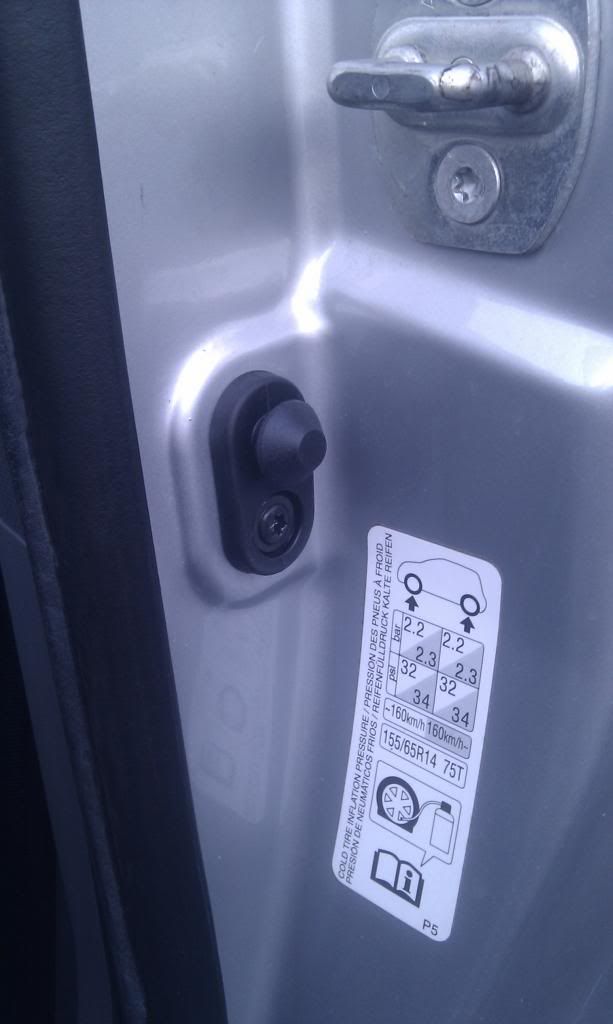
TURN OFF THE INTERIOR LIGHT..... pull back the trim from the inside, it is held on by the plastic poppers that hold most trim panles
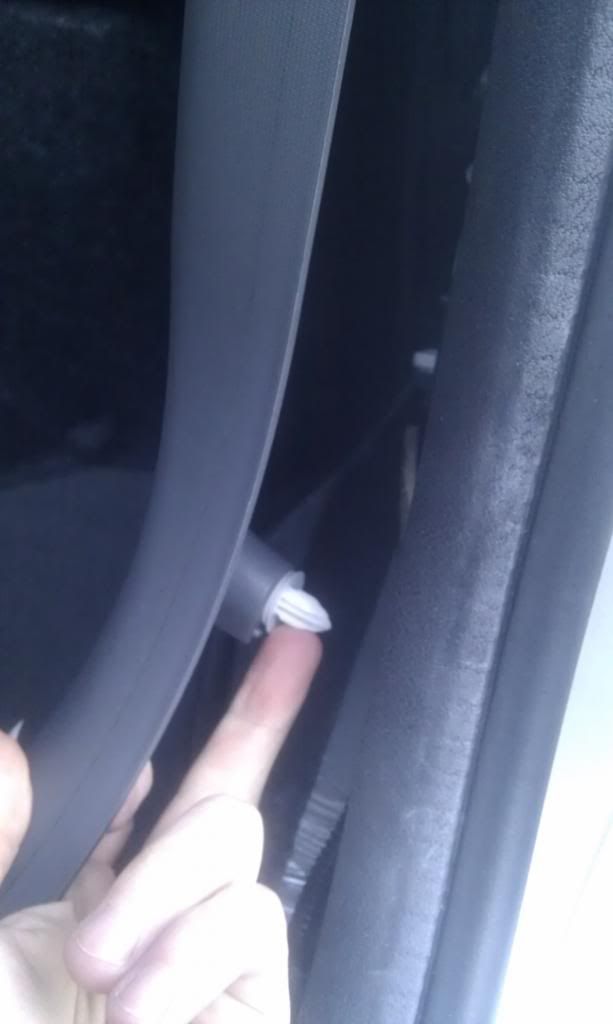
poke your finger through from the back to help remove the sticker covering the holes
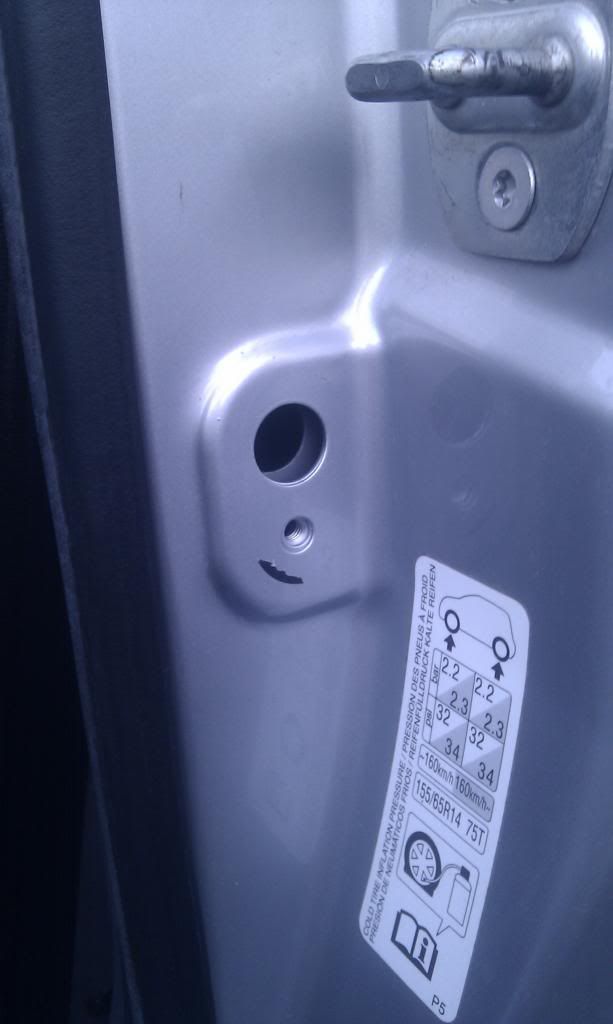
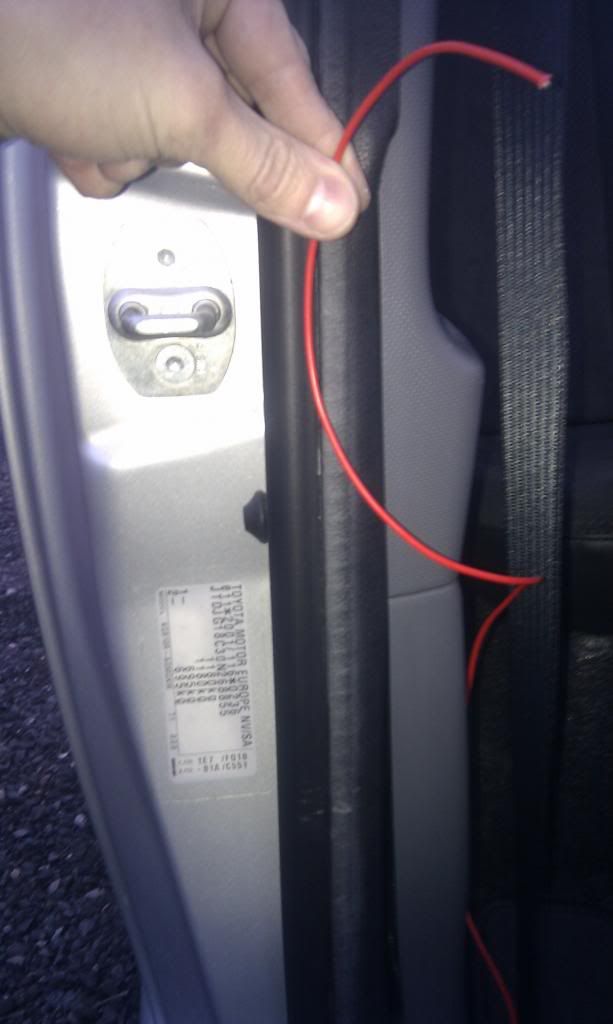
thread the cable with spade connector through from inside the car
slide the connector onto the back of the switch, place over the holes and tighten the bolt up (almost there)
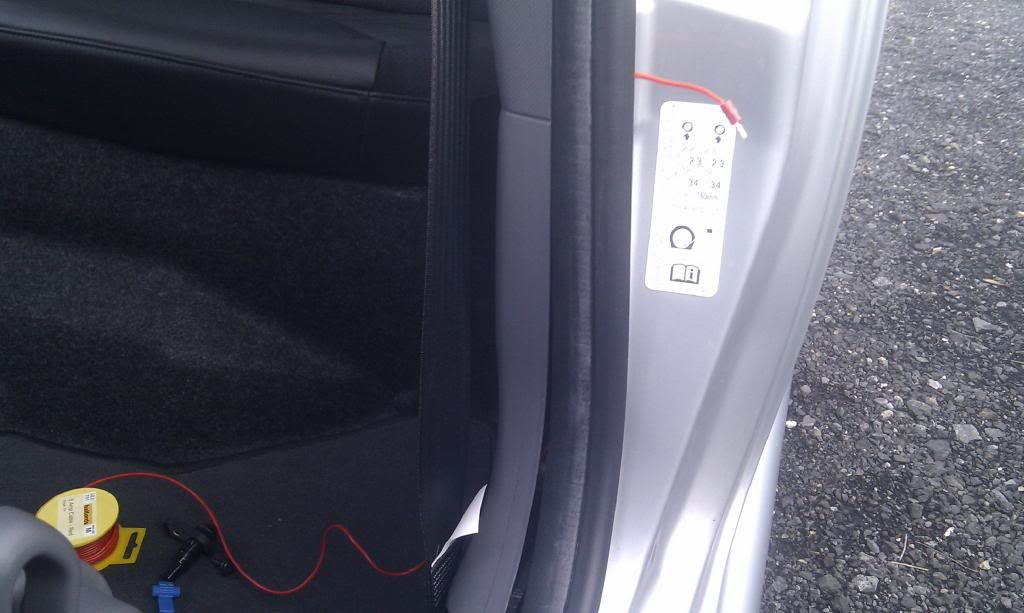
route the cable under the trim and into the boot and down the otherside, get it all fitted first and then tidy up later (as you may pull the cable and undo your tidying)
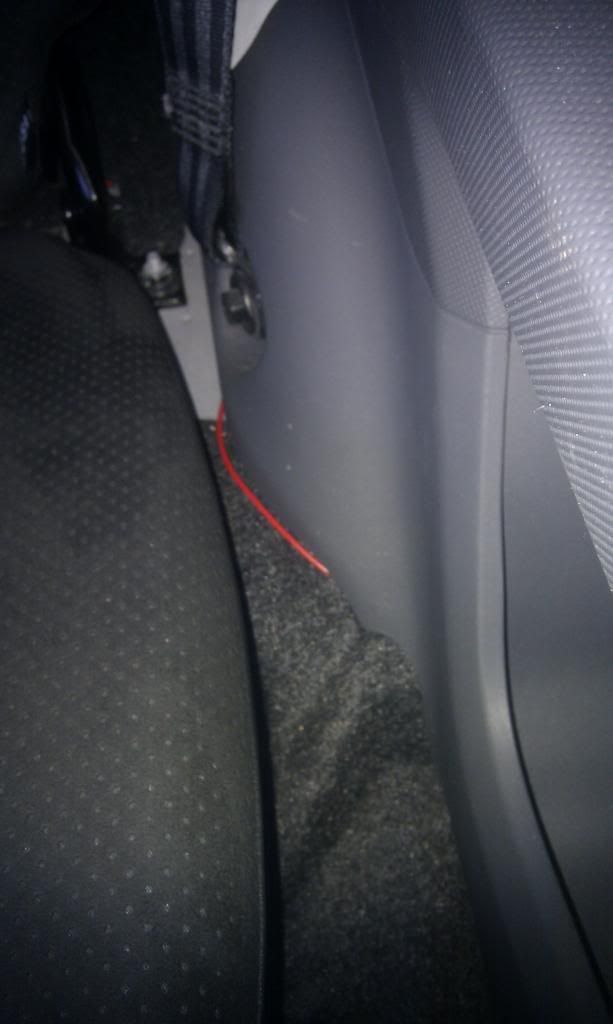
cut the cable to about this height, to give you plenty of room for error
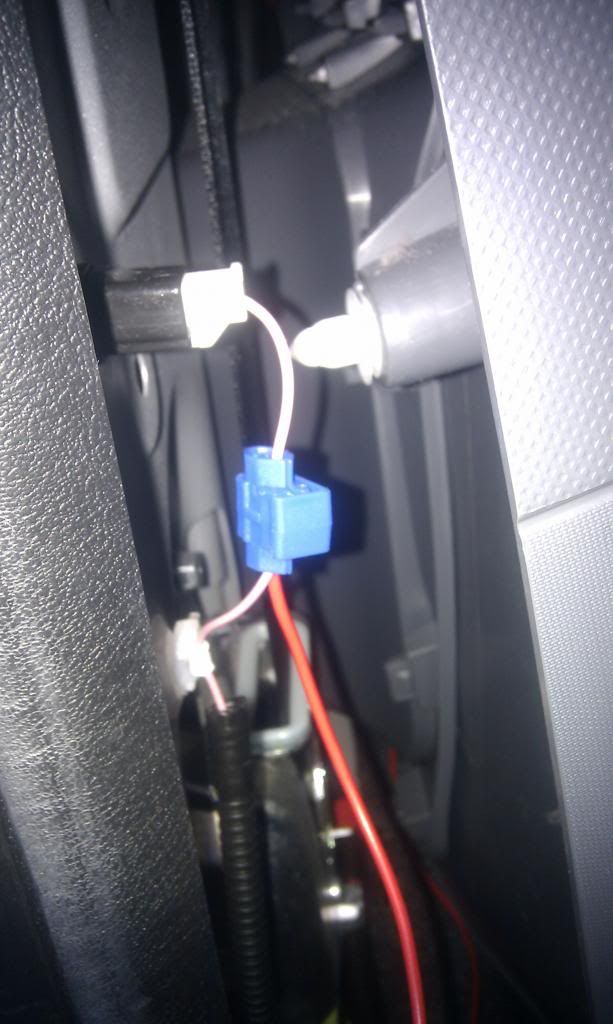
(the mrs helped me here by holding back the trim) slide the blue connector over the pink wire on the drivers side, slide in the new red wire, and squeeze the metal prong down with the bull nosed pliers. test pull them apart gently, if all is good fold over the blue cap on the connector
after popping all the trim back on, close the doors and switch the interior light back on... test the doors one at a time... BINGO